🔧🔌 Want your new Atosa Combi Oven to perform at its best? Follow our installation guide for a seamless experience. From setup to connection, we've got you covered! 📚💪
Welcome to the Atosa Combi Oven Set Up Guide! In this blog post, we will guide you through the first steps you need to take before using your new Atosa Combi oven. It is important to inspect the installation of the unit, ensure it is in the correct placement, leveled, and properly connected to all utilities. Once that is done, we can move on to the first burnoff process.
The first burnoff is necessary to remove any solutions that were applied to the product before storage. Before proceeding, make sure to read the safety instructions in the manual. Start by visually inspecting the inside of the Combi oven and verify that all packaging materials have been removed. This includes boxes, racking, zip ties, and tape holding the wash arm in place. These are the most common packaging materials you may find. Use a damp cloth to remove any debris that may be present inside the cabinet.
Next, attach the core temperature probe to the core temperature probe connector located just above the on/off switch on the right side of the unit. Ensure that the reservoirs are full with Combi oven detergent and brightener. When filling the detergent or brightener, be cautious to avoid getting chemicals in your eyes and on your skin. If any chemicals come into contact with your eyes, rinse them immediately with running water and seek medical attention.
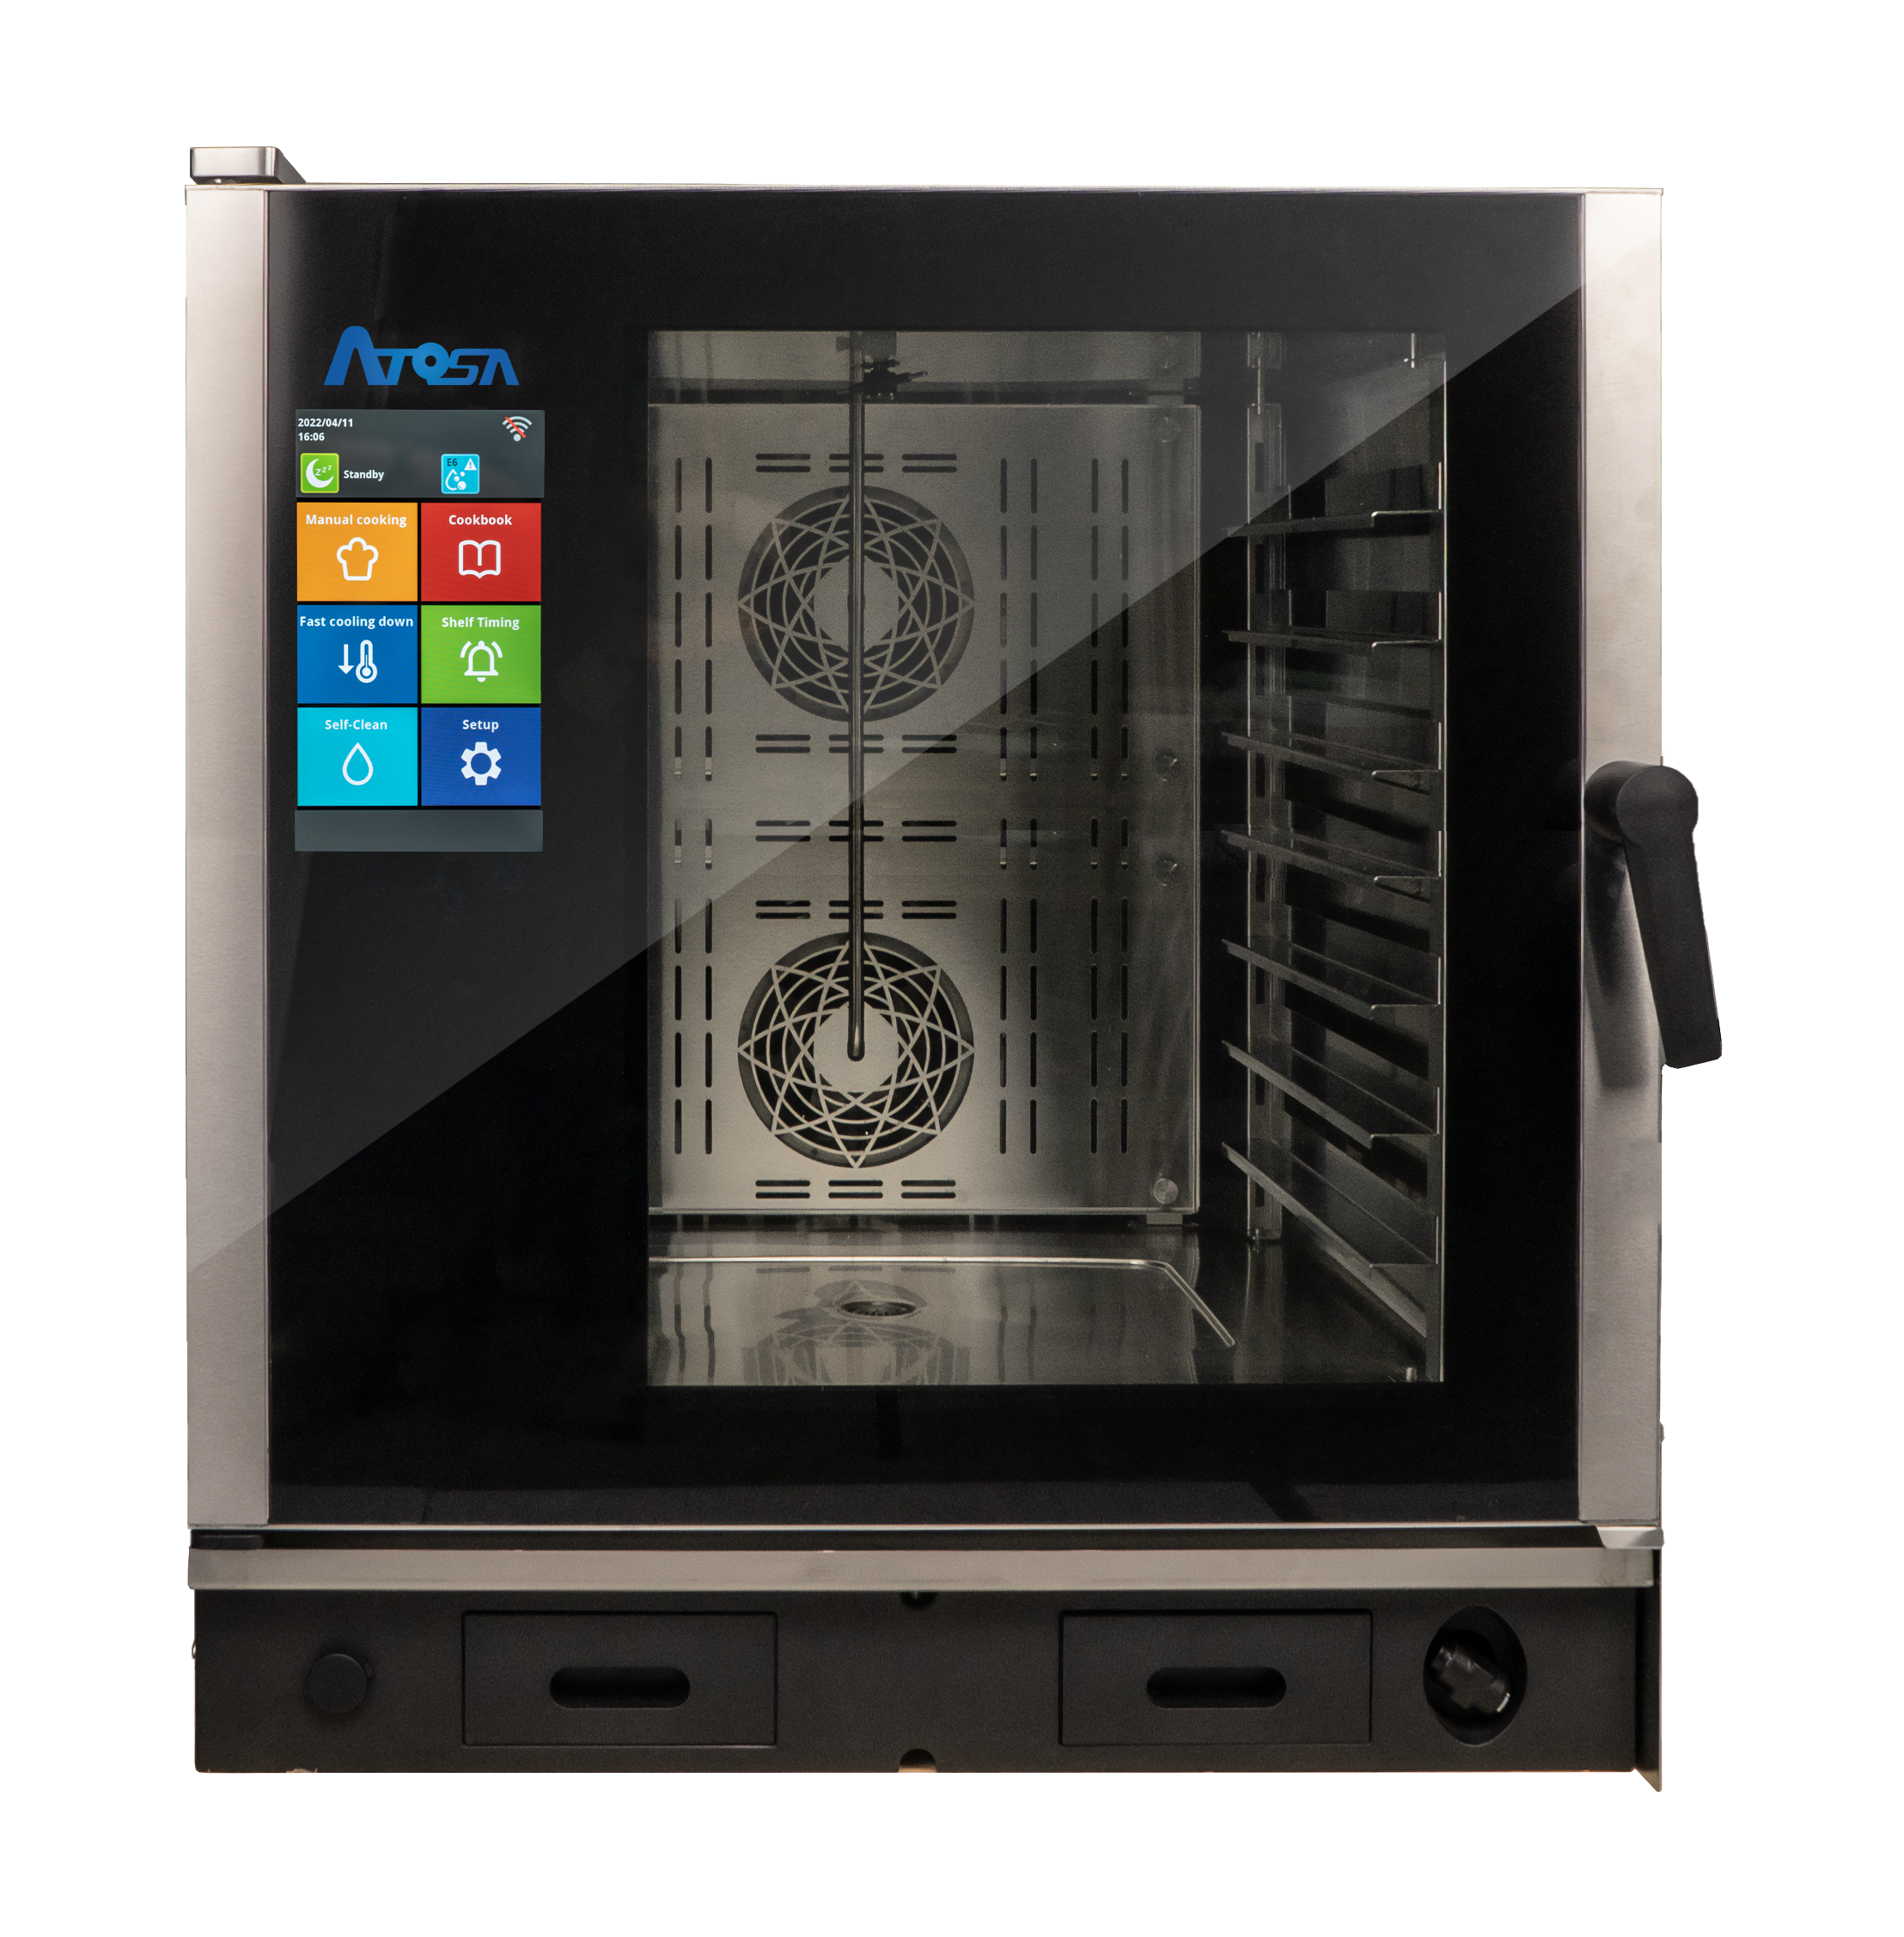
After completing the previous steps, turn the unit on by pressing the switch to the on position. The screen will then turn on, and you will enter the operations mode. The screen is user-friendly and provides easy access to the Combi Smart Touch icons. Select the manual cooking icon located on the top left of the display. From here, you will want to set the bake. Press the time cooking icon, then press the temperature and set it to 350°. Select the time cook icon, set it to 35 minutes, and press the check mark to return to the manual menu.
Now, select the fan speed icon and enter the desired percentage of fan speed. In this case, we will set it to 100%. Press the check mark, and you will be back to the main manual screen. Check to make sure that the humidity level is set to 0%. If it is not, you can go back and change it. Press the check mark to confirm the settings.
With the settings completed, it is time to start the unit. Press the start button at the bottom right of the display. The unit will display your settings, and then press the start button again to start the cooking cycle. Once the cooking is complete, the screen will show "cooking complete" and the oven will beep. Open the door and select the fast cooldown mode. Choose the low temperature option and press the start button. Let the unit cool down.
Once the unit has cooled down, you are ready to begin the wash cycle. From the main screen, select "clean" and choose the short cycle to begin. Press the start button, and the wash cycle will commence. Once the wash cycle is complete, you are now ready to start cooking in the Combi oven.
Thank you for reading this blog post and watching the Atosa training video. For more resources, visit Atosa Combi Oven website.
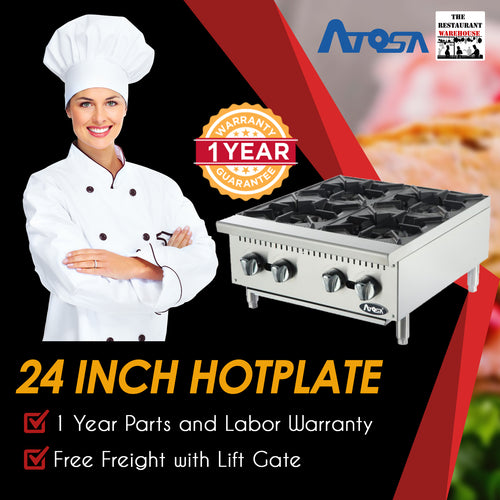
🔥🍳 Cook like a pro in your restaurant kitchen with the ultimate restaurant essential - a commercial hot plate! 🌟 Prepare mouthwatering dishes with ease and efficiency. Get yours today and elevate your culinary game! 🍽️
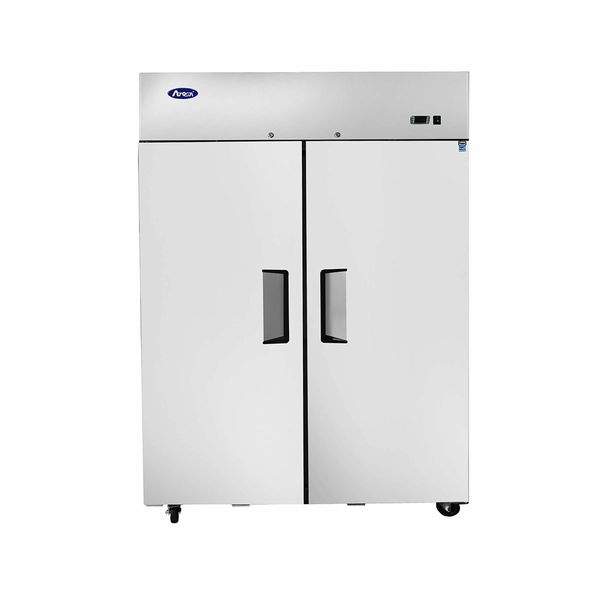
💸💪 Looking to scale your business?🍽️ Restaurant owners, did you know you can finance your equipment? 🤝 No upfront payment needed! Get the tools you need to succeed while making affordable monthly payments. 📅💼 Invest in your kitchen's future!
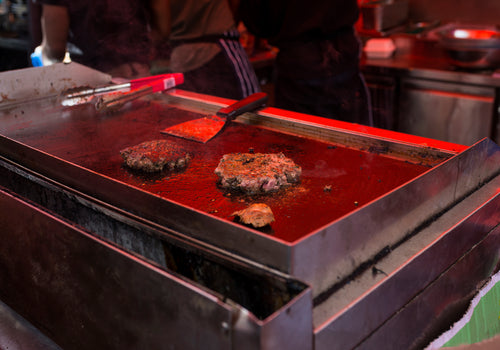
🔥 Searching for ways to expand your restaurant's cooking options? Look no further! Our website offers Atosa commercial grills 🍳 specifically designed to provide the ultimate culinary experience 🍽️. From breakfast classics to savory dinner entrees, one piece of equipment can do it all! 🚀


Leave a comment